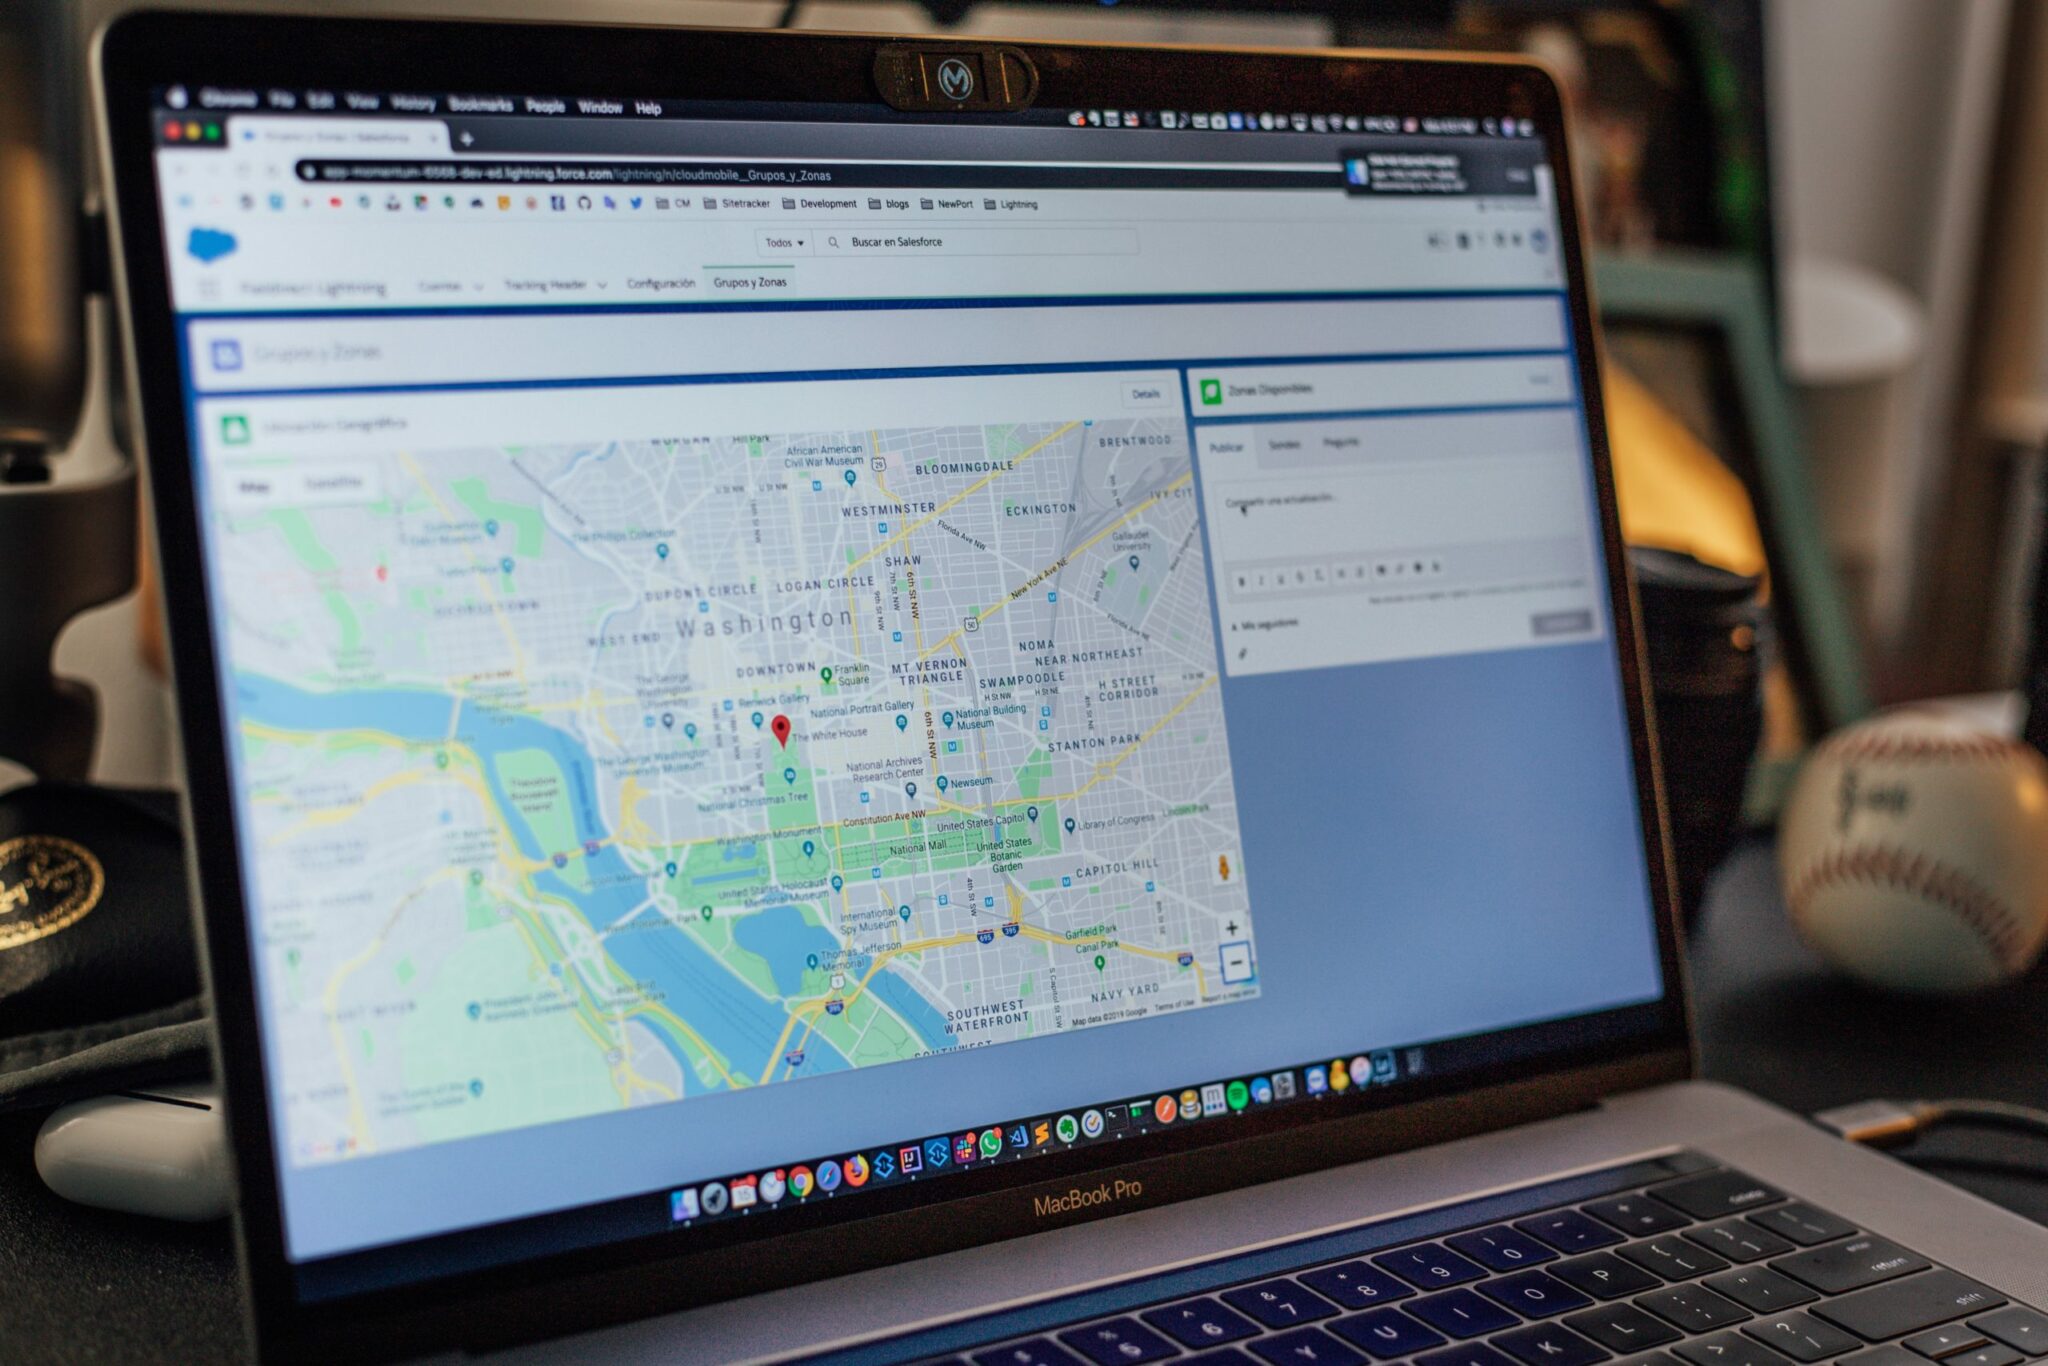
Of course, you want to have a Google Map on your website making it easy for potential customers or clients to find your business location. To do this you need a Google Maps API key, the API key needs to be linked to a Google Account with billing enabled so we suggest that our partners create and own their own key so you can control settings and billing easily in the future.
It only takes a minute to generate with the step-by-step tutorial we have created for you below!
Step 1: Generate a Google Maps API Key
- Make your way over to the Google Maps Platform
- Click “Get Started”
- In the window that appears you want to select all three options: “Maps”, “Routes”, and “Places” and then click”continue

- If you want to use an existing project, please select it from the list. Otherwise, select ‘Create a new project’ and enter a project name before clicking “Next”
Step 2: Create a Billing Account
- Now’s the time to create that billing account we mentioned! In the updated window click “Create Billing Account”
- Fill out the form with your contact and payment information
Note that you only pay for what you use, and you receive $200 of free monthly usage each month. You can also set caps in your settings so you get no unexpected increases. Learn more.
Step 3: Get Your Key
- In the next window, it will be offered for you to enable your APIs. Click “Next”
- Next, you will see a window with your new Google Maps API key ready to copy!

- Copy the key and send it to your Loki Creative Account Manager or paste it into the plugin dashboard
Step 4: Secure Your API Key
- After your key is created, it’s recommended to restrict it to prevent it from being “hijacked” and going over your quota. The first step is to head to Google Cloud Platform Console and click on your key
- In the form that appears, select “HTTP referrers (websites)” and enter your site domain name in the field
Getting your Google API key isn’t as difficult as it may seem. The whole process should only take a couple of minutes of your time using this tutorial and now you know how to create and manage any keys you may need in the future!


